Sweden in Kodak Gold
Solely shooting and editing RAW files can suck. You juggle around with large files, editing is time-consuming and requires a proper editing software at hand. Especially on holidays with family and friends, working with RAW files can therefore turn out to be quite annoying and keep you from sharing images on the go.
This is why I prefer JPEG when travelling, particularly since making proper use of Fujifilm’s different film simulations. For those that do not know what I am talking about or have no Fuji camera: Each digital Fujifilm camera comes with multiple film simulations, of which each gets you a different look. This allows you to capture images with very different styles, from colorful and light to desaturated and constrasty. Just like when switching back and forth between different film rolls back in the day.
So how are Fuji’s film simulations different from the JPEG options you get at other cameras?
I found that Fujifilm’s film simulation give me images that I can use straight out of camera, something I have not yet achieved with my Canon. If properly exposed, it does not even take a single post-processing step and the image is ready to share and store away.
As you can create your own film simulation, you can shoot on personalized “role of film”. You prefer warmer tones? Less saturated images? More contrast? No problem. While this is also possible in post-processing when using other cameras, film simulations make all this happen directly inside the camera.
During my most recent trip to Sweden, I thus shot and shared primarily JPEGs. Yes, I also took RAWs as a backup. But after reviewing my images and finding out that I always went for the JPEG, I would not hesitate shooting JPEGs only the next time.
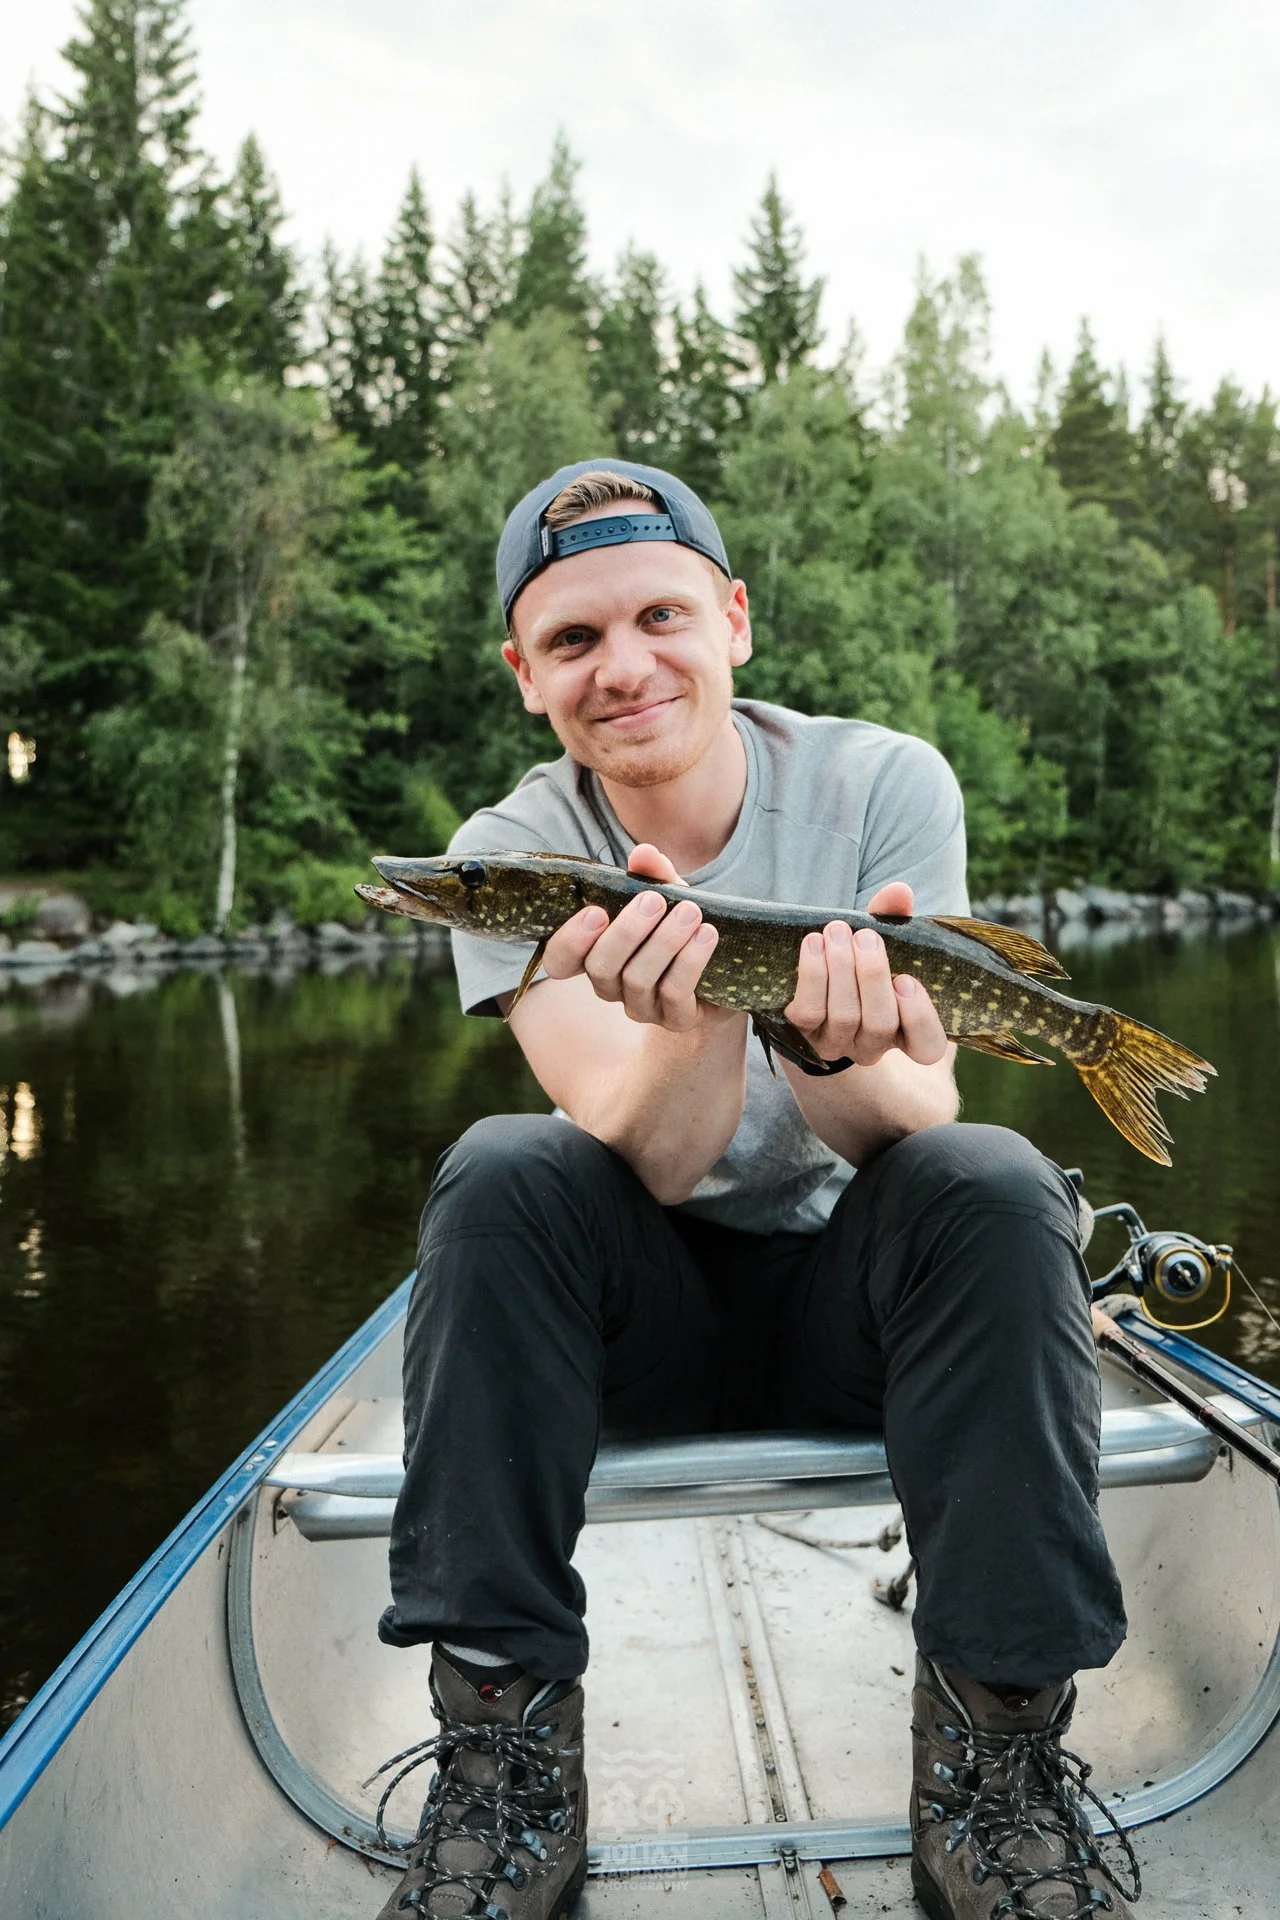
Below you find a selection of my favorite shots that I took during my 7 days canoeing trip in Sweden.
To unveil the secret: All the images were shot using a customized film simulation recipe that aims at imitating Kodak Gold 200 films.
Kodak Gold 200 – Film Simulation Recipe
Fujifilm Simulation: Classic Chrome (as a starting point)
Dynamic Range: Auto
Highlight: -2
Shadow: +1 (0 in high contrast situations)
Color: +3
Noise Reduction: -4
Sharpening: -2
Grain Effect: Off
White Balance: Daylight, +4 Red & -5 Blue
ISO: Auto, up to ISO 6400
Exposure Compensation: 0 to +1
Big shoutout at this point to fujixweekly.com for creating this lovely recipe! It has become my go-to option when documenting my holidays, and even found its place when I am out shooting in nature.
Film simulations for nature photography
Yes, you heard, or rather read, correctly. The Kodak Gold film simulation also works great in nature, especially during golden hour. For the shot below, for instance, the JPEG I got out of the camera was actually so close to the result I envisioned, that it took me only a few minor adjustments to get the final image! No RAW-file editing whatsoever. Nice.
Besides providing me with decent JPEGs, Fuji’s film simulation also help me when I am primarily interested in RAW files. By adjusting the setting of a simulation to imitate the adjustments I plan to do in post, I get a pre-view of how the final image could look like. This turned out to be especially helpful in situation where I shoot low-key images. By increasing the highlights and contrast, I now always get a good feeling of how those post-processing steps will affect the shot in my viewfinder.
If you’re up to a deeper dive into Fuji’s film simulations, check out this video by serr. And if you look for other film simulation recipes, I highly recommend to give fujixweekly.com a visit. Cheers!
My favorite nature image from this year so far – shot on the Kodak Gold film simulation.


